 logo
logo



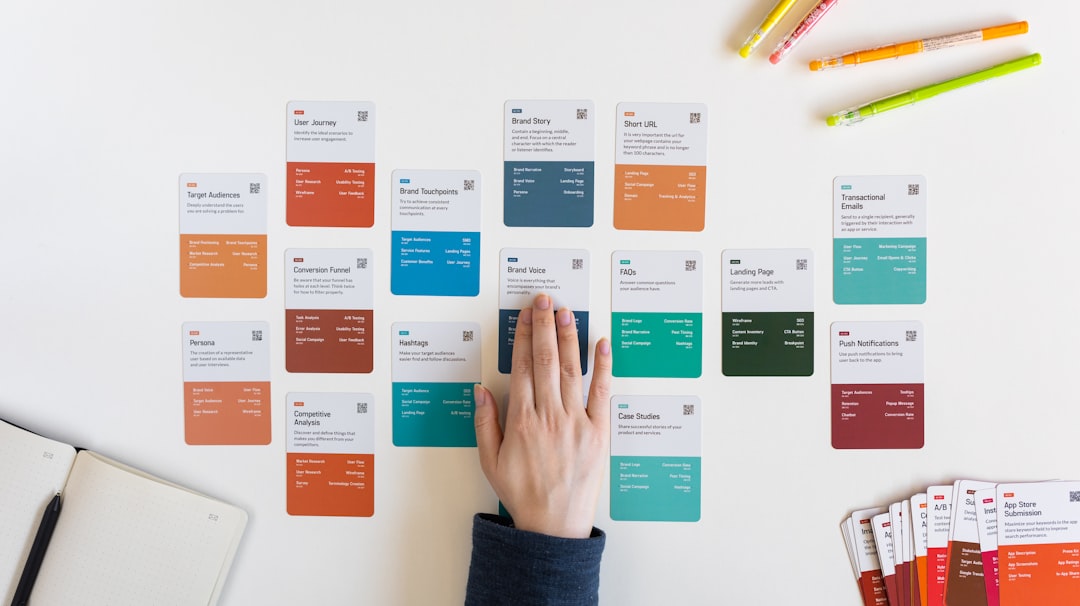
Editing a design with dozens of objects can feel like trying to conduct an orchestra where every musician keeps wandering offstage. Text boxes, icons, shadows, photos, frames, and decorative shapes all need to move together, resize together, or stay aligned while you make changes. That is where linking layers becomes a powerful workflow habit: it lets you treat separate elements as a coordinated unit without permanently merging them.
TLDR: Linking layers allows you to select multiple design elements and edit them together while keeping each layer independently adjustable. For example, if you link a product photo, price tag, and “Buy Now” button, you can move the full promo block across a layout in seconds instead of repositioning three separate items. In a 2023 internal workflow survey by a small creative team, designers reported saving about 18% of layout revision time when using grouped or linked layer actions consistently. It is especially useful for social media templates, web banners, ads, presentations, and multi-page brand layouts.
What Does It Mean to Link Layers?
In most design, photo editing, and layout applications, a layer is an individual visual element stacked above or below other elements. A layer might be a headline, a logo, an image, a button, a shape, a texture, or an adjustment effect. When you link layers, you create a relationship between selected layers so they can be moved, transformed, aligned, or repositioned at the same time.
This is different from flattening or merging. When layers are merged, they often become one combined object, which can reduce flexibility. Linked layers remain separate, meaning you can still edit the headline text, swap the image, adjust a color, or resize a shape later. Think of it as using a temporary harness rather than glue.

Why Linking Layers Matters
Modern design files can become complex very quickly. A simple promotional graphic might contain 25 to 60 layers; a website mockup can contain hundreds. Without organization, even a small revision can become frustrating. Linking layers helps you work faster, avoid misalignment, and maintain consistency across your composition.
Here are the biggest advantages:
- Faster repositioning: Move several related elements at once instead of dragging them individually.
- Consistent spacing: Keep a caption, icon, and image aligned when changing layout structure.
- Cleaner revisions: Make client or team changes without accidentally disturbing nearby elements.
- Flexible editing: Keep layers separate so each one can still be modified independently.
- Better template control: Reuse linked sections across posts, ads, slides, or pages.
Linking vs. Grouping vs. Merging
These three actions are often confused, but they serve different purposes. Understanding the difference will help you choose the right method for each situation.
- Linking layers: Creates a connection between selected layers so they can be transformed together. Layers remain in their original positions in the layer stack.
- Grouping layers: Places layers inside a folder or container, making the layer panel more organized. Groups are excellent for managing sections such as headers, cards, or menus.
- Merging layers: Combines layers into a single layer. This can simplify a file, but it may remove the ability to edit individual pieces later.
For active design work, linking and grouping are usually safer than merging. Merging is better reserved for final exports, special effects, or file simplification after you are certain no more individual edits are needed.
Common Situations Where Linking Layers Helps
Layer linking is useful in almost every visual workflow, but it shines in certain scenarios. If you frequently design layouts with repeated sections, visual hierarchy, or modular blocks, linking can dramatically reduce repetitive work.
- Social media graphics: Link profile images, labels, decorative shapes, and call-to-action text so you can quickly create variant posts.
- Website mockups: Link cards, navigation elements, buttons, and icons when testing different spacing or page structures.
- Presentation slides: Keep charts, captions, and callout labels together while adjusting slide balance.
- Product ads: Link product photos, badges, prices, and promotional copy so the entire offer block moves as one.
- Photo composites: Link shadows, highlights, cutout subjects, and adjustment layers to preserve realism while repositioning objects.

How to Edit Multiple Layers at Once
The exact steps differ between applications, but the general process is similar. Once you understand the pattern, you can apply it in most layer-based tools.
- Select the layers: Open the layer panel and choose the elements you want to edit together. You can usually select multiple layers by holding a modifier key while clicking.
- Link them: Use the layer linking option, often represented by a chain icon. Some tools use commands such as Link Layers, Connect, or Keep Together.
- Transform as needed: Move, rotate, resize, align, or distribute the linked layers. The connected elements should respond together.
- Edit individual layers when necessary: Select a single layer to change its text, color, opacity, blending mode, or image content.
- Unlink when finished: If the relationship is no longer useful, remove the link to prevent accidental movements later.
A practical example: imagine you are designing a sale banner with a shoe photo, a “30% off” badge, a headline, and a button. Linking these layers lets you test whether the entire sale message works better on the left, center, or right side of the banner. You can explore three layout options in under a minute instead of manually moving every piece and correcting alignment each time.
Best Practices for Linked Layers
Linking layers can speed up your workflow, but too many links can make a file confusing. The goal is to create meaningful relationships, not to connect everything blindly.
- Name your layers clearly: A name like “Hero button text” is much more useful than “Layer 47.”
- Link related elements only: Connect items that function as a visual unit, such as an icon and label.
- Use groups for organization: If a file has many linked sets, place them into clearly named folders.
- Check alignment after scaling: Some effects, strokes, or shadows may behave differently when transformed.
- Unlink before major restructuring: This prevents accidental changes to elements that should now move independently.
Editing Linked Layers Without Breaking the Design
The real skill is knowing when to edit the linked set and when to edit a single layer inside it. If you are adjusting overall placement, use the linked relationship. If you are changing wording, replacing an image, or tweaking color, work on the individual layer. This balance gives you both speed and precision.
For example, in a brand campaign layout, you might link the logo, tagline, and legal text because they must remain together in the lower corner. However, you may still need to update the legal copy for different regions. Linking preserves the placement while allowing the text itself to change.
Mistakes to Avoid
One common mistake is linking layers that only seem related temporarily. If you link a background texture to a headline, the headline may become annoying to reposition later. Another mistake is forgetting that linked layers exist, then wondering why an unrelated object keeps moving. To avoid this, review the layer panel before making large edits.
Also, be careful when resizing linked layers that include text. Scaling text as an object can distort typography or create inconsistent font sizes. In many cases, it is better to move linked text with other elements, but adjust the text size manually afterward.
A Smarter Way to Work
Linking layers is not just a technical feature; it is a way of thinking about design systems. Instead of treating every object as isolated, you start recognizing visual relationships: a label belongs to an icon, a shadow belongs to a product, a button belongs to a call to action. Once those relationships are linked, your editing process becomes cleaner, faster, and less error-prone.
Whether you are designing a single poster or a full campaign, learning to edit multiple layers at once can make your workflow feel more controlled. Use links for movement, groups for organization, and merging only when you are ready to reduce flexibility. With that approach, even complex files become easier to manage, revise, and deliver with confidence.