logo
logo

So, you’re selling your laptop. Awesome! But before you hand it over to its new owner, there’s something super important to do—wipe it clean! And we don’t mean just grabbing a cloth and giving it a polish (although, that helps too). We’re talking about removing all your personal info, files, and settings. Don’t worry, it’s easier than it sounds. Let’s dive in!
TLDR (Too Long, Didn’t Read)
Backing up your data first is key. Then, sign out of all your accounts and deauthorize software. After that, reset the laptop to its factory state. This keeps your data safe and gives the buyer a clean system to start with.
Step 1: Back Up Your Important Stuff
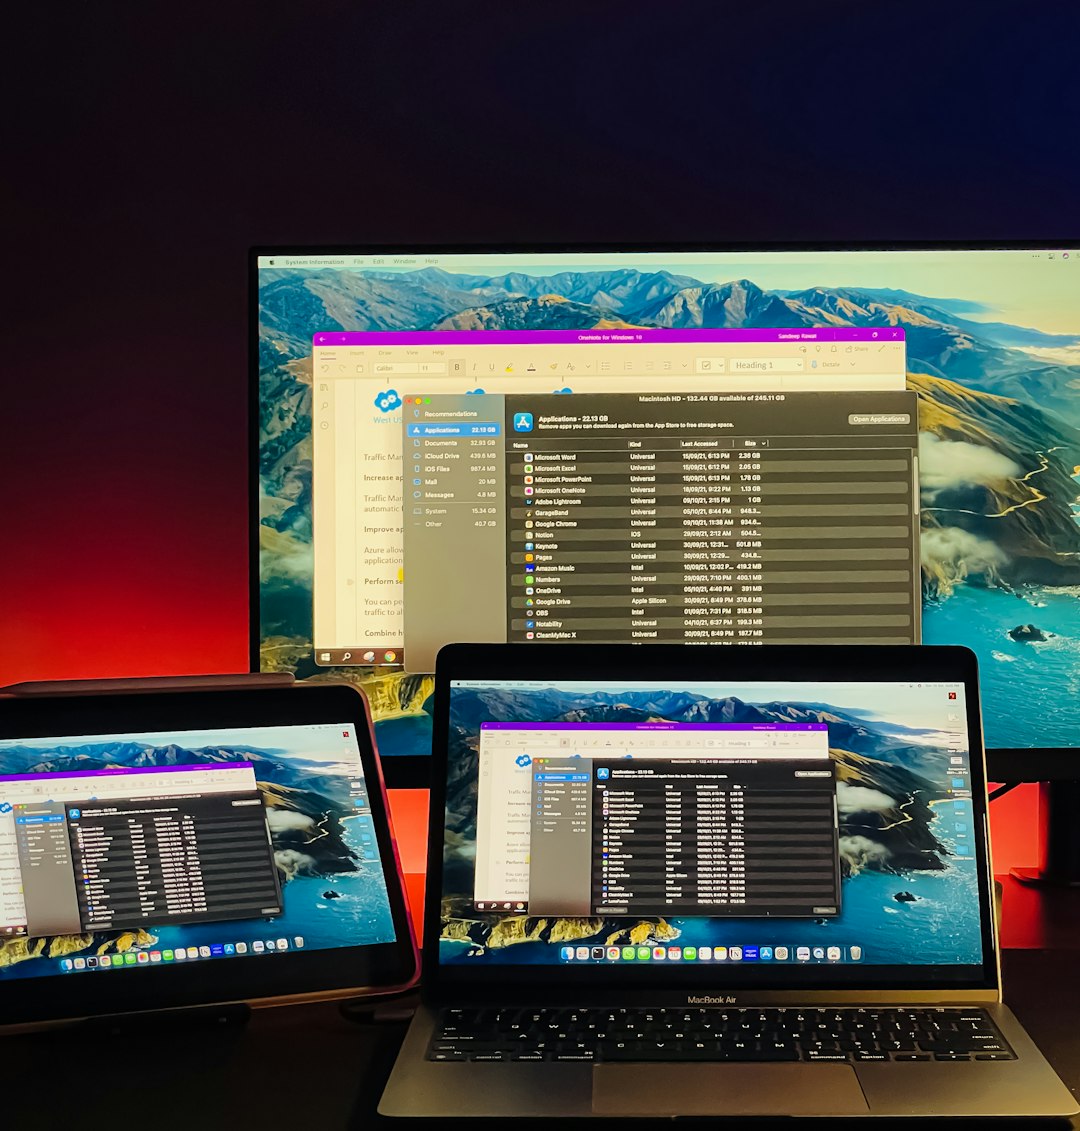
You don’t want to lose that epic vacation photo or your saved game data. So, before you wipe the laptop, make sure everything you need is safely saved elsewhere.
- Use an external hard drive – You can drag files over manually.
- Cloud storage – Services like Google Drive, Dropbox, or OneDrive do the job great.
- Clone your hard drive – If you want an exact copy of everything (apps, settings, files), third-party tools like Macrium Reflect (for Windows) or Carbon Copy Cloner (for Mac) are helpful.
Check through your Documents, Downloads, Desktop, Photos, and Videos folders for anything you don’t want to lose. Better safe than sorry!
Step 2: Sign Out of Everything
This is a step many people skip. But it’s really important. Logging out ensures that the next person can’t log back in as you. Plus, some software might give you a limited number of activations, so you’ll want to deauthorize them.
- Email clients like Outlook or Mail.
- iTunes or Apple ID (for Mac) – Go to “Settings” → “Apple ID” → “Sign Out”.
- Adobe Creative Cloud – Deactivate via the app before uninstalling.
- Microsoft Office – Sign out to free up your license.
- Browsers with login – Chrome, Firefox, Safari, all might be synced with online accounts.
If you’ve saved passwords in your browser, grab a backup of those too or export them before you sign out.
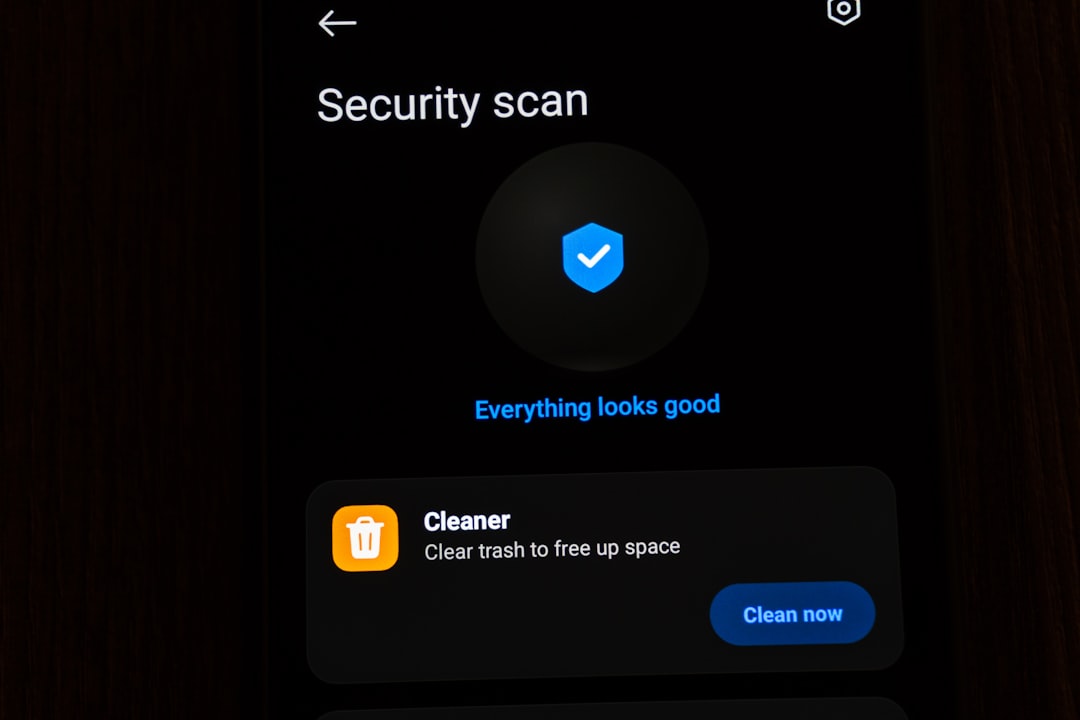
Step 3: Unlink Devices and Deauthorize Software
This is particularly important for things like:
- iCloud accounts – Disable “Find My Mac” (for Apple users).
- Google accounts – Remove the device from your Google account’s list of trusted devices.
- Streaming services like Netflix or Spotify – Sign out to avoid device limits.
Think of it like changing the locks when you move out of a house. You’re just making sure no one walks in behind you.
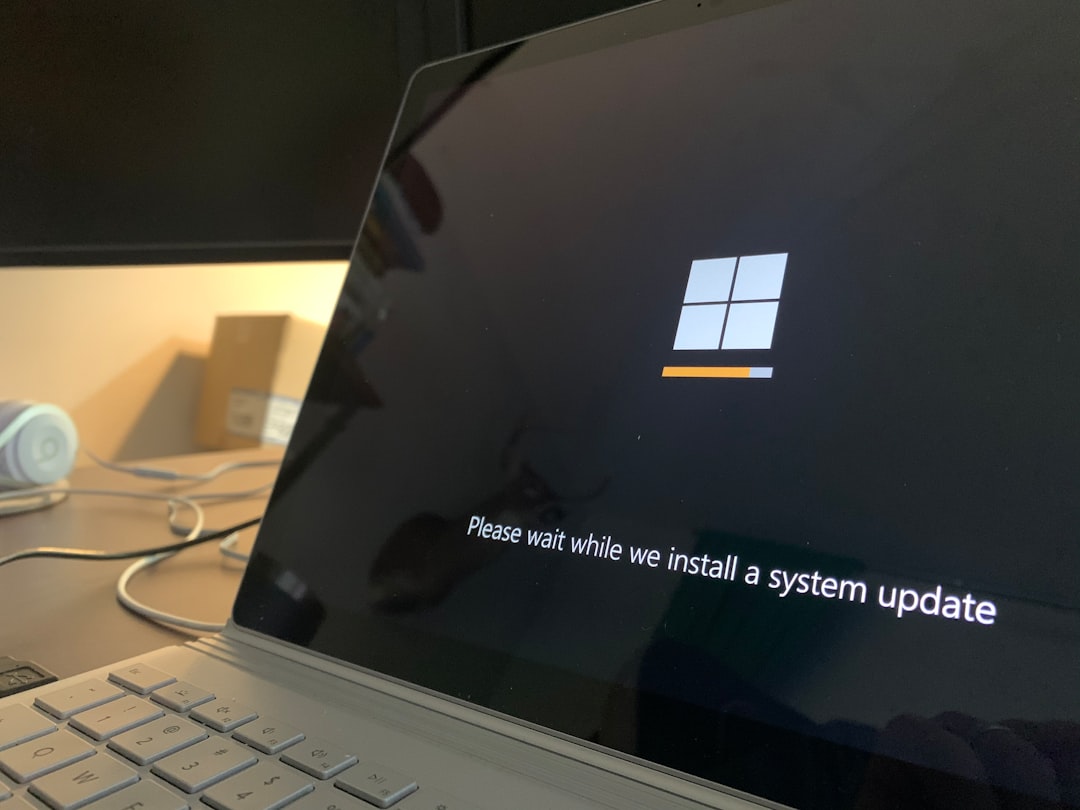
Step 4: Factory Reset the Laptop
This is the fun part. You’re giving your laptop that “fresh out of the box” feel again. The steps vary slightly depending on the system you’re using.
For Windows 10/11:
- Go to Settings → Update & Security → Recovery.
- Click Reset this PC.
- Select Remove everything.
- Choose Cloud download or Local reinstall (both reset the system).
- Follow the steps and wait. This can take some time, so maybe grab a snack.
For macOS:
- Restart your Mac and hold down Command + R until the Apple logo appears.
- Select Disk Utility and erase the hard drive (your startup disk, usually called “Macintosh HD”).
- Close Disk Utility, then choose Reinstall macOS.
- Install the OS fresh from the internet.
Tip: For very sensitive data, consider using an option to completely erase the drive (do a secure wipe). Windows and Mac both have options for this. This makes data much harder to recover.
Step 5: Reinstall the OS (If Needed) and Prepare for Sale
If the reset didn’t include reinstalling the operating system, you might need to do that manually.
- Windows: Use the Media Creation Tool to create a bootable USB drive with Windows.
- Mac: macOS Recovery usually handles this for you, but you can use a bootable installer if needed.
After the reinstall, the laptop should land at the welcome setup screen. That’s perfect—ready for the new owner to begin fresh.
If you’re feeling fancy, clean the physical laptop too. Wipe the screen, keyboard, and shell with a microfiber cloth and some tech-safe cleaner.
Step 6: Double-Check — Did You Miss Anything?
Take a final look:
- Files all backed up?
- Logged out from all accounts?
- Deactivated any software licenses?
- Erased the hard drive securely?
- Reinstalled the OS?
- Clean and shiny? (Points for presentation!)
If you’ve got all the above done, congrats! Your laptop is good to go and safe for resale.
Bonus Tips
- Include the charger and accessories – Buyers love a full set.
- Note down specs – RAM, storage, processor. Buyers will ask!
- Take good photos if you’re selling it online. Lighting matters.
- Be honest about wear and tear – Scratches? Dents? Let buyers know upfront.
And hey, if your laptop’s older and not worth much for resale—consider donating it! Schools, community centers, or nonprofits often need working machines.
Wrap-Up
Wiping a laptop before selling it might sound technical, but it doesn’t have to be scary. With this step-by-step guide, you’ll not only protect your personal info, but also make life easier for its next owner.
Plus, there’s something oddly satisfying about seeing a laptop start up like it did on day one. Happy prepping—and good luck with the sale!