 logo
logo



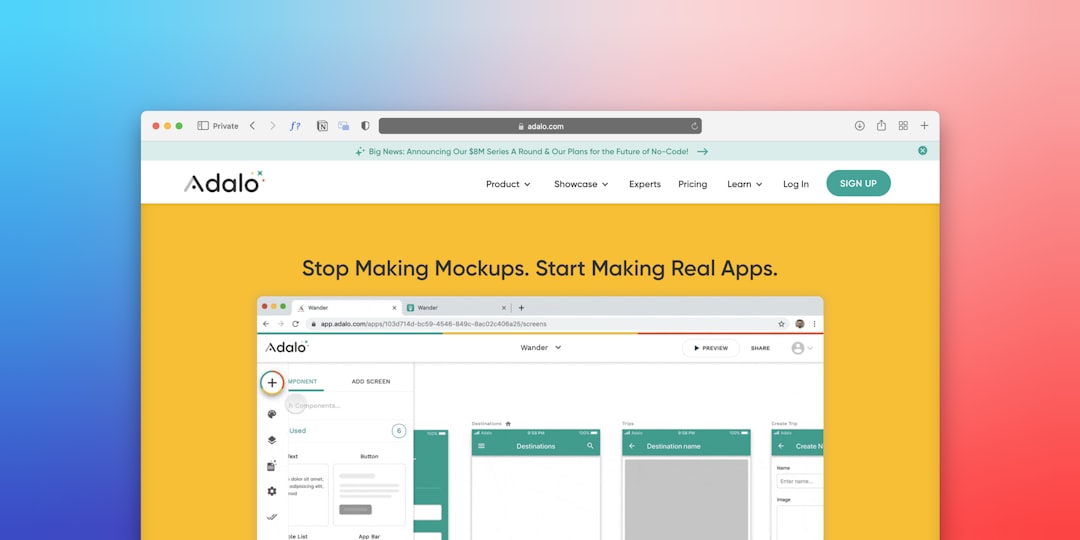
Posting on social media can feel like feeding a very hungry dragon. It always wants more. A photo here. A Reel there. A clever caption at 9 a.m. sharp. Social media scheduling tools help you tame that dragon without losing your whole day.
TLDR: Social media scheduling tools let you plan, write, and publish posts ahead of time. They save time and help your content stay consistent. For example, a small bakery could schedule 20 posts in one Monday session, then spend the rest of the week baking cupcakes instead of staring at a phone. Many teams save 5 to 10 hours per week by batching content and using analytics to improve future posts.
What Is a Social Media Scheduling Tool?
A social media scheduling tool is like a calendar, clipboard, and robot helper in one place.
You create your posts in advance. You choose the date and time. Then the tool publishes them for you. No panic. No “Oops, I forgot to post.” No scrambling for a caption while eating cold toast.
Most tools let you schedule content for platforms like:
- TikTok
- X
- YouTube Shorts
Some tools also help with comments, team approvals, content ideas, and reports. Fancy ones even suggest the best time to post.

Why Use One?
Because time is sneaky.
You open an app to post one thing. Then you check messages. Then you watch a cat video. Then you read three comments. Suddenly, 40 minutes are gone. The dragon wins.
A scheduling tool helps you stay focused. You plan content in one sitting. Then you leave the tool to do the posting.
Here are the big benefits:
- You save time. Batch your work and avoid daily posting stress.
- You post more consistently. Your audience hears from you often.
- You plan better campaigns. Holidays, launches, and sales become easier.
- You avoid last minute chaos. No more “What should I post today?” fear.
- You track what works. Analytics show which posts get clicks, likes, and shares.
Consistency is very important. People trust brands that show up often. Not every minute. Not in a creepy way. Just regularly.
Who Should Use Scheduling Tools?
Almost anyone who posts for a reason.
If you are a solo creator, you can use them to protect your free time. If you run a small business, you can use them to plan promotions. If you manage a team, you can use them to approve posts before they go live.
They are useful for:
- Small business owners
- Marketing teams
- Freelancers
- Coaches and consultants
- Nonprofits
- Restaurants and cafés
- Online shops
- Personal brands
Even if you only post three times a week, a tool can help. It turns “random posting” into a simple system.
How Scheduling Tools Work
The process is usually simple.
- Connect your accounts. Link your social profiles to the tool.
- Create content. Add text, images, videos, hashtags, and links.
- Pick a time. Choose when each post should go live.
- Preview the post. Check how it will look on each platform.
- Schedule it. Let the tool publish it later.
Many tools include a visual calendar. This is great because you can see your whole week or month at once. It feels like looking at a snack drawer. Everything is there. Everything has a place.
You can also move posts around by dragging them. If a launch moves from Tuesday to Friday, just shift the content. Easy.
Key Features to Look For
Not every tool is the same. Some are simple. Some are giant command centers. Pick one that fits your needs and your brain.
Look for these features:
- Easy calendar view: You should see your planned posts clearly.
- Multi platform posting: One post can be adapted for different networks.
- Media library: Store images, videos, and brand assets in one place.
- Post previews: See what your audience will see.
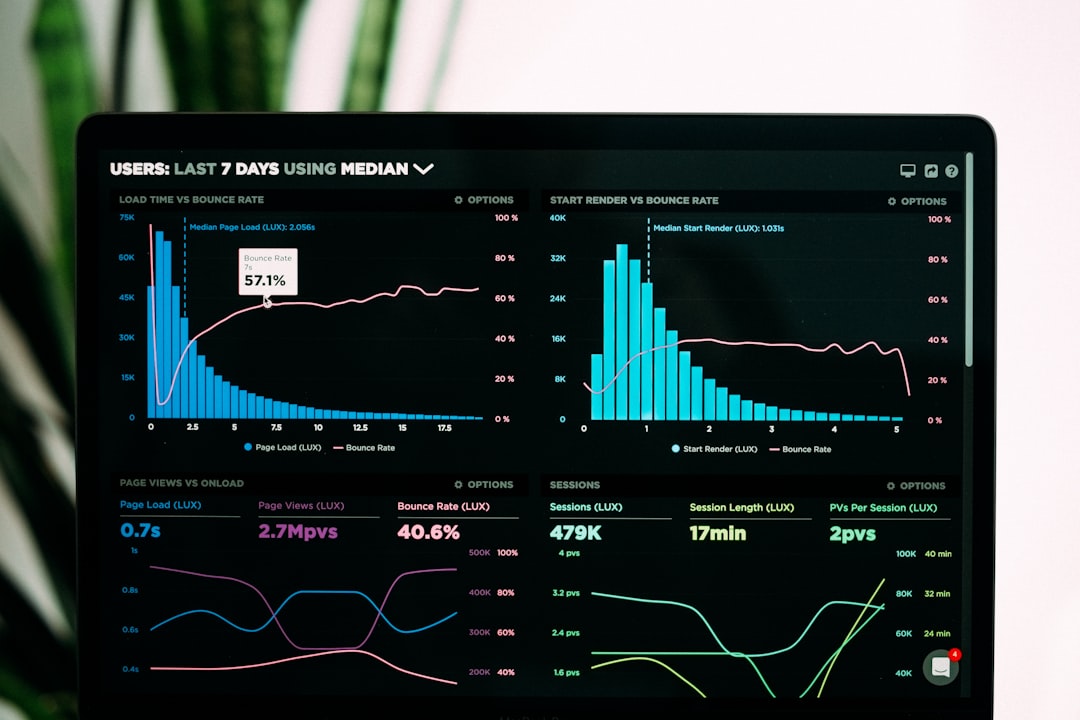
- Analytics: Track engagement, reach, clicks, and follower growth.
- Best time suggestions: Let data guide your posting times.
- Team approvals: Helpful if more than one person creates content.
- Comment management: Reply to people without jumping between apps.
Tip: Do not choose a tool just because it has 900 features. If you only need 12, the other 888 may just sit there wearing sunglasses.
A Simple Weekly Workflow
Here is an easy way to use a scheduling tool without feeling overwhelmed.
Monday: Plan your topics. Choose what you want to promote, teach, or share.
Tuesday: Write captions. Keep them clear. Add calls to action like “Read more,” “Comment below,” or “Shop today.”
Wednesday: Create or collect images and videos.
Thursday: Schedule everything. Check previews. Fix spelling mistakes.
Friday: Review analytics from last week. Note what worked best.
This system is simple. It also leaves space for real-time posts. If something fun happens, you can still post it live. Scheduling does not make you robotic. It gives you room to be more human.
What Should You Schedule?
You can schedule many types of content. Mix them up so your feed does not feel like a never-ending sales flyer.
- Educational posts: Tips, how-to guides, and quick lessons.
- Promotional posts: Sales, product launches, and offers.
- Behind the scenes posts: Show your workspace or process.
- Social proof: Reviews, testimonials, and customer stories.
- Engagement posts: Questions, polls, and “this or that” choices.
- Evergreen posts: Content that stays useful for months.
A good mix might be 50% helpful content, 30% trust-building content, and 20% sales content. This keeps your feed useful, warm, and not too pushy.
Mini User Case: The Busy Fitness Coach
Meet Mia. She is a fitness coach. She trains clients, answers messages, records workouts, and tries to drink water like a responsible adult.
Before using a scheduler, Mia posted whenever she remembered. Some weeks she posted eight times. Other weeks she posted once. Her engagement was messy.
Then she started planning every Sunday. She scheduled five posts per week:
- Two workout tips
- One client success story
- One short video
- One offer for a free consultation
After four weeks, her profile visits went up by 32%. Her consultation bookings rose from 6 per month to 10 per month. She also saved about 7 hours each week. That is almost a full workday. Or several naps. Both are valid.
Common Mistakes to Avoid
Scheduling is helpful, but it is not magic soup. You still need a smart plan.
- Do not post the same caption everywhere. LinkedIn and TikTok do not speak the same language.
- Do not ignore comments. Publishing is only half the job. Conversation matters.
- Do not overfill the calendar. More posts do not always mean better results.
- Do not forget current events. Pause scheduled posts if they become badly timed.
- Do not skip analytics. Data tells you what your audience likes.
Think of your scheduler as a helpful assistant. It can post for you. It cannot replace your voice, humor, or care.

How to Choose the Right Tool
Start with your goals. Do you need to save time? Manage a team? Track sales clicks? Keep one Instagram account alive and cheerful?
Then ask these questions:
- How many social accounts do I manage?
- Do I need video scheduling?
- Do I work alone or with a team?
- Do I need detailed analytics?
- Is the tool easy to use?
- Does the price fit my budget?
Try a free plan or trial if available. Click around. Schedule a test post. See if the tool feels friendly. If it makes you want to throw your laptop into a lake, choose another one.
Final Thoughts
Social media scheduling tools make content planning calmer. They help you stay consistent, save time, and learn from your results. They are great for busy people who want better posts without living inside social apps.
Start small. Plan one week of content. Watch what happens. Then improve. Soon, you may wonder how you ever posted without a trusty little scheduling sidekick.