 logo
logo

As technology continues its relentless march forward, organizations that once relied on physical tape media like 4mm Digital Audio Tape (DAT) are increasingly facing the need to modernize their data storage strategies. While DAT tapes offered a reliable means of data backup in their prime, they now pose risks due to media degradation, vendor obsolescence, and limited access to compatible hardware. Migrating this legacy data to contemporary storage solutions such as Network-Attached Storage (NAS) or cloud infrastructure is no longer a luxury—it has become a mission-critical priority.
This article outlines a secure, verifiable, and structured workflow for migrating 4mm DAT backups to modern storage systems. With security, data integrity, and auditability at the forefront, our methodology ensures not only a successful migration but one that stands up to technical scrutiny and compliance needs.
Why Migration Is Necessary
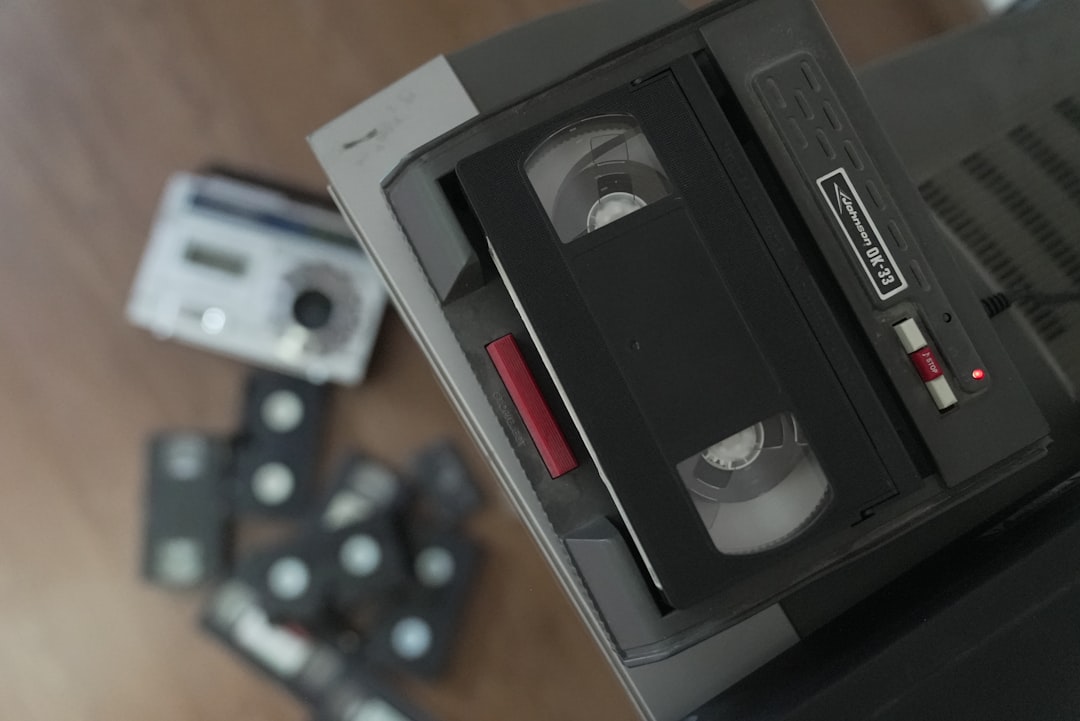
4mm DAT was a common choice for data backup in the 1990s and early 2000s. While it served its purpose for years, several key issues now necessitate a shift to modern alternatives:
- Hardware Scarcity: Tape drives compatible with 4mm DAT are increasingly rare, making recovery and access progressively difficult.
- Degradation Risk: Magnetic tape deteriorates, especially if incorrectly stored, risking data loss.
- Incompatibility with Modern Systems: Vintage drivers and software are often unsupported on current operating systems.
- Non-scalability: Tapes lack the scalability required to support dynamic, real-time data operations or analytics.
Given these limitations, shifting to NAS or cloud provides redundancy, accessibility, and ensures your organization’s data is future-proofed for decades to come.
Phase 1: Audit and Assessment
Before diving into the migration process, your first step is to catalog and assess your DAT inventory. Not all tapes may be recoverable or valuable, and conducting a proper audit will streamline efforts and avoid redundant work.
- List all archived DATs, labeling them with unique identifiers.
- Estimate their data volume and perform visual inspections for physical damage.
- Document metadata such as backup formats (e.g., TAR, proprietary software), dates, and systems of origin.
- Determine compliance or regulatory requirements that affect retention or access.
Once the assessment is complete, create a prioritized migration plan, identifying high-risk or high-value data for early recovery.
Phase 2: Environment Preparation
This step involves preparing the necessary hardware and software environment for tape reading and data recovery.
Essential Tools
- DAT Tape Drive: Ensure you have a functional DAT drive (DDS-1 to DDS-4, depending on tape type).
- SCSI Interface: Most DAT drives connect via SCSI; ensure your workstation or server supports this interface, potentially with SCSI-to-USB adapters.
- Compatible OS and Drivers: Linux or older versions of Windows often offer better backward compatibility for tape reading.
- Data Recovery Software: Tools like dd, tar, mt, Amanda, or even vendor-specific software may be needed depending on the tape contents.
Having a clean, dust-free working space is also critical, as DAT mechanisms are susceptible to contamination, which may cause read errors or permanent damage.

Phase 3: Data Extraction
This is the most technically strenuous component. Each tape must be carefully read, and its data verified against expected results.
Best Practices for Extraction
- Mount the Tape Drive: Use system commands or device managers to ensure the DAT drive is correctly recognized.
- Read Contents: Begin by using tape management tools to preview contents. For example:
mt -f /dev/st0 statusortar -tvf /dev/st0. - Create an Image (Optional): Use dd to create a full tape image for archival before unpacking data:
- Extract Data: Based on the tape format, extract files using appropriate tools. Always output to a secure, temporary drive for verification.
dd if=/dev/st0 of=tape_image.dd bs=64kBe prepared for errors such as missing headers, read retries, or segment failures. Using built-in tape rewind and attempt commands can help in partially damaged media scenarios.
Phase 4: Verification and Integrity Checking
After extracting data, it is crucial to ensure its integrity. This step adds a vital layer of trust to the migration process.
Checksum Verification
- Generate hash values (MD5, SHA-256) as soon as data is extracted.
- Compare values across repeated reads to confirm consistency.
Format Validation
- Confirm files are readable and valid: open databases, parse logs, or use file format validators.
- If proprietary formats are involved, keep legacy software images (e.g., old VMs) just for validation.
Keep detailed logs of all verification steps: file names, checksums, timestamps, and tools used. These artifacts are essential for audits, especially in regulated industries.
Phase 5: Secure Storage and Migration
Once validated, data should be stored in a secure, scalable manner using either NAS or a trusted cloud provider. The target storage system should support redundancy, encryption, and access auditability.
Option 1: Network-Attached Storage (NAS)
- Suitable for on-premises environments with sensitive data policies.
- Ensure NAS configurations include RAID, automatic backups, and user access controls.
- Use encrypted connections (SMB over VPN, SFTP) for internal data transmission.
Option 2: Cloud Storage
- Scalable and cost-effective for long-term archival.
- Use reputable providers (e.g., AWS S3 with Glacier, Microsoft Azure Blob, Google Cloud Storage).
- Implement access versioning, lifecycle policies, and encryption at rest and in transit.
Many organizations adopt a hybrid model—staging data on NAS with a mirrored cloud sync, thus combining the benefits of both systems.
Documentation and Compliance
If your organization operates under HIPAA, GDPR, SOX, or ISO requirements, detailed documentation is non-negotiable. Even if not mandated, thorough records contribute to trust and reproducibility.
Key Records to Maintain
- Full inventory of migrated tapes and data contents.
- Tools and processes used (hardware models, software versions, command logs).
- Checksum logs and integrity reports.
- Authentication and storage destination policies.
Create a final summary report including what was migrated, where it is now stored, and who has access to it. This closes the loop and ensures transparency across stakeholders.
Future-Proofing Your Data Strategy
As data demands grow, today’s cloud-based or NAS-based system may eventually be replaced by even more advanced technologies. A clear takeaway from the DAT migration process is that data must always be mobile and verifiable.
- Design current systems to support universal file formats and open standards.
- Incorporate regular data audits and automatic integrity checks into your operational cycles.
- Keep historical knowledge accessible—retain logs, VM images, and process documentation for future migrations.
Conclusion
Migrating data from 4mm DAT tapes is a complex but navigable process when approached systematically. By prioritizing security, verifiability, and proper documentation, your organization can not only preserve its legacy data but also transition to a robust, scalable storage infrastructure that meets today’s demands and tomorrow’s challenges.
This workflow acts as both a technical guide and a risk mitigation framework, ensuring that fragile legacy systems are replaced thoughtfully and securely. For firms with mission-critical archives, the time to act is now—before degradation or hardware obsolescence makes recovery impossible.
