 logo
logo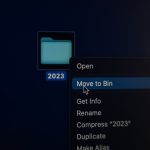

Have you ever tried deleting a contact on your Android phone, only to be met with the dreaded message: “Cannot delete read-only contact”? If yes, you’re not alone. While Android phones offer immense flexibility, the contact system can sometimes be confusing when it comes to contacts that are synced from external sources like WhatsApp, Google, or other apps. These “read-only” contacts are non-editable and non-deletable through the standard Contacts interface—but fortunately, there are ways to handle them.
What Are Read-Only Contacts?
Read-only contacts are linked with accounts that have synchronization privileges on your phone—think social media, email, or messaging apps. Instead of storing the contact information directly on your device, your Android phone syncs these from the cloud. These contacts are essentially managed by the app or service they originate from, which is why your phone restricts you from modifying or deleting them through normal means.
Why You Might Want to Remove Them
There are several reasons you may want to remove read-only contacts:
- Duplicate records: They clutter your contact list with multiple entries for the same person.
- Outdated info: Some read-only contacts may display old numbers or email addresses.
- Privacy: You may prefer not to have certain network contacts displayed in your contact list.
Steps to Remove Read-Only Contacts
Here are several methods to help you get rid of those stubborn read-only contacts from your Android device:
1. Disable Contact Sync for the Source App
This is usually the most effective method.
- Go to Settings > Accounts.
- Tap the account you suspect is syncing the contact (e.g., WhatsApp, Google, LinkedIn).
- Tap on Account sync and toggle off Contacts.
- Wait a few minutes or restart your phone to let the changes take effect.
This should remove the synced contacts associated with that service. If not, try the next method.
2. Remove the Account from Your Device
If disabling sync doesn’t remove the contact, removing the entire account can do the trick. Warning: This will remove all data associated with that account.
- Navigate to Settings > Accounts.
- Choose the account and tap Remove Account.
After removal, refresh your contact list, and the read-only entries linked to that account should disappear.
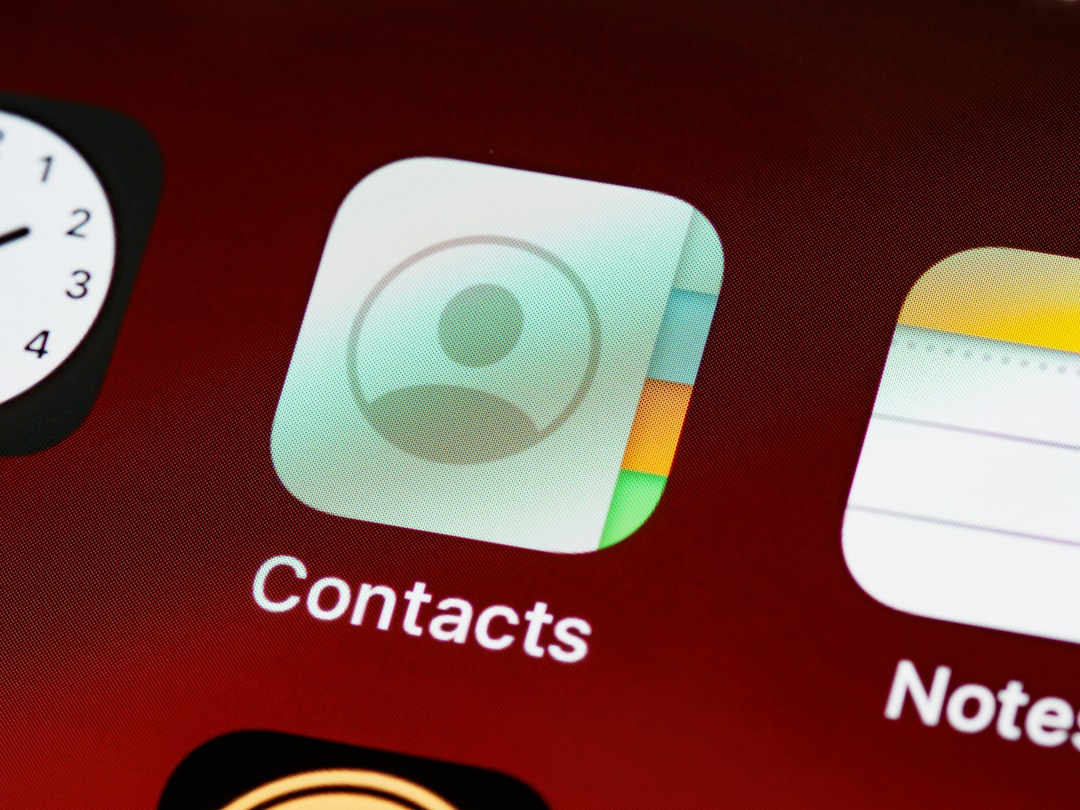
3. Use the Contacts App to Unlink
Another workaround is to unlink the contact before deletion if it’s part of a merged profile.
- Open the Contacts app.
- Select the read-only contact.
- Tap the three-dot menu and choose View linked contacts.
- Tap Unlink or Separate.
- Once separated, try deleting the unwanted part of the contact.
4. Use a Third-Party App
Several third-party contact managers offer more control than the default Contacts app. Tools like Contact Remover or Simple Contacts allow batch deletion and sometimes better integration handling.
Before installing any app, make sure to check permissions and reviews to avoid compromising your privacy.
Precautions Before Removing Read-Only Contacts
- Back up your contacts: Always back up your entire contact list before making major changes.
- Cross-check which account the contact belongs to: This helps you know what you’ll lose if you remove the account.
- Review sync settings: Sometimes apps re-sync contacts if the settings aren’t changed.
Conclusion
Removing read-only contacts on Android can be a relatively simple or annoyingly complex task depending on the source of the contact and your specific device settings. By disabling sync, unlinking merged contacts, or using third-party tools, you can reclaim control of your address book. Just remember to proceed cautiously to avoid losing valuable information.
A streamlined, updated contact list isn’t just about aesthetics—it’s about efficiency and clarity. Take a few minutes to clean up your contacts and enjoy a more organized digital life.
