 logo
logo

So, you’ve decided to remove Daemon Tools from your computer. Maybe you don’t use it anymore. Maybe it’s causing issues. Or maybe you just want a cleaner system. Whatever the reason, you’re in the right place. In this guide, you’ll learn exactly how to delete Daemon Tools completely. No leftovers. No hidden files. No headaches.
TL;DR: To completely delete Daemon Tools, first uninstall it using the Control Panel or Settings. Then remove leftover files, virtual drives, and registry entries. Finally, restart your computer and double-check that nothing remains. Follow the steps below to make sure it’s gone for good.
What Is Daemon Tools (And Why Remove It)?
Daemon Tools is a program that lets you create and mount virtual drives. It’s popular for running ISO files without a physical disc. Pretty handy.
But sometimes it causes problems:
- Slow startup times
- System errors
- Conflicts with other software
- Annoying pop-ups
- Licensing reminders
Or maybe you just don’t need it anymore. That’s fine too.
Let’s remove it the right way.
Step 1: Uninstall Daemon Tools Normally
Start simple. Always use the official uninstall method first.
On Windows 10 or 11:
- Click the Start Menu.
- Open Settings.
- Click Apps.
- Find Daemon Tools in the list.
- Click it.
- Select Uninstall.
Follow the on-screen instructions. Let it finish completely.
On Windows 7:
- Click the Start Menu.
- Open Control Panel.
- Click Programs and Features.
- Find Daemon Tools.
- Right-click and choose Uninstall.
Again, follow the prompts.
Tip: If it asks to restart your computer, say yes. Restarting helps remove locked files.
Step 2: Remove Virtual Drives
Daemon Tools creates virtual drives. These sometimes stay behind.
Let’s check.
- Press Windows + X.
- Select Device Manager.
- Look for DVD/CD-ROM drives.
If you see virtual drives labeled like “DT Virtual Drive”:
- Right-click the virtual device.
- Select Uninstall device.
- Confirm.
This removes any leftover mounted hardware drivers.
Simple. But very important.
Step 3: Delete Leftover Program Files
Uninstalling doesn’t always remove everything. Some files love to hide.
Here’s where to look:
- C:\Program Files\
- C:\Program Files (x86)\
- C:\ProgramData\
If you see a Daemon Tools folder:
- Right-click it.
- Click Delete.
If Windows blocks you:
- Restart your PC.
- Try again.
Still stuck? Boot into Safe Mode and delete it from there.
Image not found in postmetaStep 4: Clear Temporary Files
Temporary files can stick around. Let’s wipe them.
- Press Windows + R.
- Type %temp%.
- Press Enter.
- Delete all files in the folder.
Don’t worry if some files can’t be deleted. Just skip those.
You can also run Disk Cleanup:
- Search for “Disk Cleanup.”
- Select your C drive.
- Check Temporary files.
- Click OK.
Your system will feel lighter already.
Step 5: Remove Registry Entries (Advanced but Powerful)
Warning: Be careful here. The registry is sensitive.
If you’re not comfortable editing the registry, skip this step. Your system will still be fine.
If you want a full cleanup, follow along.
- Press Windows + R.
- Type regedit.
- Press Enter.
Then:
- Press Ctrl + F.
- Search for Daemon Tools.
- Delete related entries.
Press F3 to find the next entry.
Only delete entries clearly related to Daemon Tools.

Pro Tip: Create a registry backup first.
- Click File.
- Select Export.
- Save a backup copy.
Smart move.
Step 6: Remove Daemon Tools Drivers
Daemon Tools installs SPTD drivers or similar components.
Sometimes these stay even after uninstalling.
Here’s how to check:
- Press Windows + R.
- Type cmd.
- Right-click Command Prompt.
- Choose Run as Administrator.
Then type:
sc query sptd
If it says the service exists, you may need the official SPTD installer to remove it.
Download the standalone SPTD installer from the official source. Run it. Choose Uninstall.
Restart your computer afterward.
Step 7: Check Startup Programs
Some background services love to auto-start.
Let’s stop that.
- Press Ctrl + Shift + Esc.
- Open the Startup tab.
- Look for any Daemon Tools entries.
- Click Disable.
Clean startup. Faster boot.
Optional: Use a Third-Party Uninstaller
If manual steps feel like too much, you can use uninstall tools.
They scan for leftover files automatically.
Here’s a quick comparison:
| Tool | Free Version | Removes Leftovers | Beginner Friendly |
|---|---|---|---|
| Revo Uninstaller | Yes | Yes | Very Easy |
| IObit Uninstaller | Yes | Yes | Easy |
| Geek Uninstaller | Yes | Yes | Simple Interface |
How to use them:
- Install the tool.
- Select Daemon Tools.
- Click Uninstall.
- Run the Advanced Scan for leftovers.
- Delete all found items.
Fast. Efficient. Less manual work.
How to Know It’s Completely Gone
Let’s double-check.
- No Daemon Tools in installed apps.
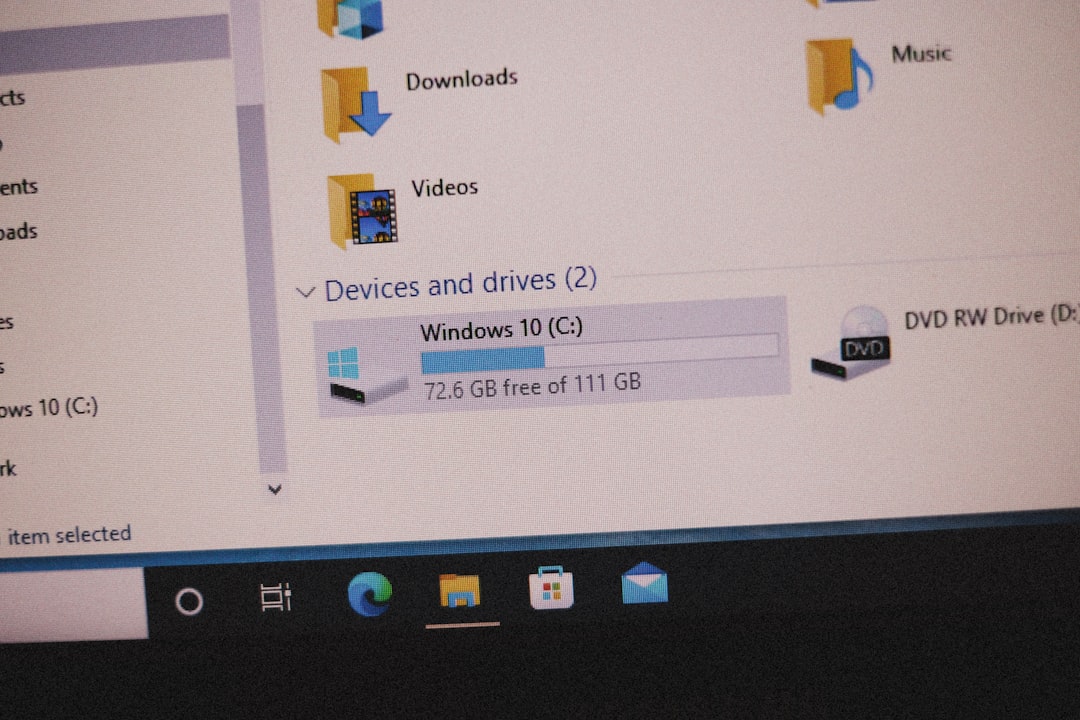
- No virtual drives in File Explorer.
- No folder in Program Files.
- No startup entries.
- No SPTD driver running.
If all clear, congratulations.
Daemon Tools is officially gone.
Common Problems (And Quick Fixes)
Problem: “Uninstall Failed”
Fix: Restart PC and try again. Or use Safe Mode.
Problem: Folder Won’t Delete
Fix: Use Safe Mode or a tool like Unlocker alternatives.
Problem: Virtual Drive Still Appears
Fix: Remove it from Device Manager manually.
Problem: System Errors After Removal
Fix: Run:
sfc /scannow
in an elevated Command Prompt.
This scans and repairs Windows files.
Final Thoughts
Removing Daemon Tools completely isn’t hard. It just requires a little patience.
Most people stop after clicking “Uninstall.” That’s not enough.
To do it properly:
- Uninstall normally.
- Remove virtual drives.
- Delete leftover folders.
- Clear registry entries.
- Check for drivers.
- Restart your PC.
That’s the full cleanup routine.
Your computer will thank you. It may even run faster. And you’ll have that satisfying feeling of a job well done.
Now enjoy your clutter-free system. 😊
