 logo
logo

Creating a backdrop in Adobe Illustrator can be a fun and creative task. Whether you’re making one for a poster, a website header, or some social media magic — Illustrator has all the tools you need. And guess what? You don’t have to be a design genius to get started!
Step 1: Start With a New Document
Open Illustrator. Then follow these simple steps:
- Click on File > New.
- Choose your document size. A standard size like 1920 x 1080 pixels is great for screens.
- Make sure the color mode is set to RGB for digital backgrounds.
Great! You’ve got your blank canvas — now let’s add some color to that baby.
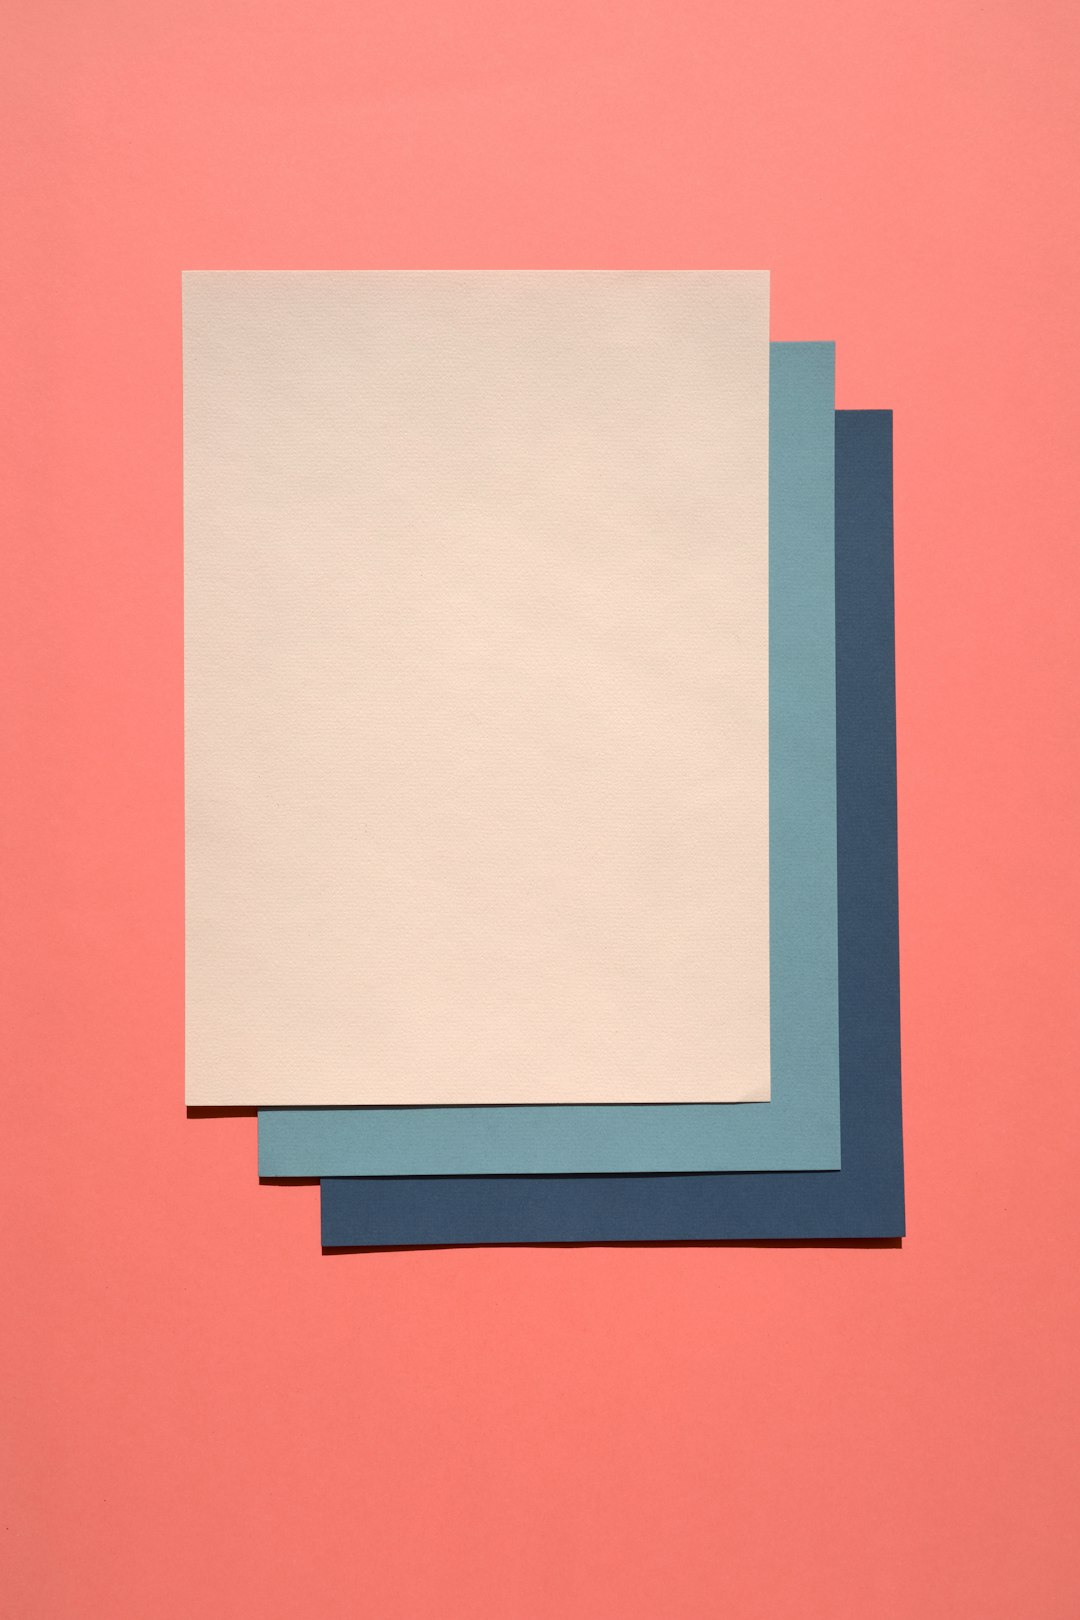
Step 2: Create a Colored Background
Choose the Rectangle Tool (shortcut: M).
- Click and drag to cover the entire canvas.
- Choose a color from the Fill tool. Want a gradient? Select the gradient option from the toolbar!
Play around with the gradient direction, shape, and colors. It instantly gives your backdrop some flair.

Step 3: Add Some Shapes and Personality
Let’s make it pop! Use basic geometric shapes or custom paths to add style.
- Try the Ellipse Tool (shortcut: L) for circles and ovals.
- The Polygon Tool can create stars and hexagons — super cool!
- Use the Pen Tool (shortcut: P) if you’re feeling fancy.
Place shapes around your backdrop to create depth. Make some semi-transparent, overlap them, and try using similar color tones.
Step 4: Texture Time (Optional but Awesome)
Want your backdrop to feel rich and textured? Illustrator has some neat tricks.
- Use the Effects menu > Texture > Grain for a subtle grainy look.
- Try Effect > Distort & Transform > Roughen to make shapes feel organic.
- You can even place an image texture and set it to low opacity as a layer over your background.

Step 5: Add Text (If Needed)
If your backdrop needs to include text — like event names or quotes — here’s how to do that:
- Select the Text Tool (shortcut: T).
- Click anywhere and type your message.
- Use the Character panel to pick fonts, change sizes, and adjust spacing.
Try different font pairings. Make it bold, italic, or even curve the text using Effect > Warp.
Step 6: Lock The Background
Once you’re happy with your design, it’s a good idea to lock your background layer. That way, you don’t accidentally move it while adding other stuff.
- Open the Layers panel (shortcut: F7).
- Find your background layer.
- Click the empty box next to the eye icon to lock it.
Step 7: Save and Export
Your backdrop is looking fabulous! Time to save your art:
- Go to File > Save As to keep the Illustrator file (.ai format).
- To use it elsewhere, click File > Export > Export As and choose PNG or JPEG.
- Set resolution to High (300 PPI) for crisp quality.
Tips to Make Your Backdrop Awesome
- Stick to 2–3 main colors to keep it clean.
- Use layers to stay organized.
- Check your design at 100% zoom to see real size.
A backdrop doesn’t have to be complicated. A little gradient, some thoughtful shapes, and personal style go a long way. Most importantly — have fun with it!
Now go ahead, open Illustrator, and start making magic!
